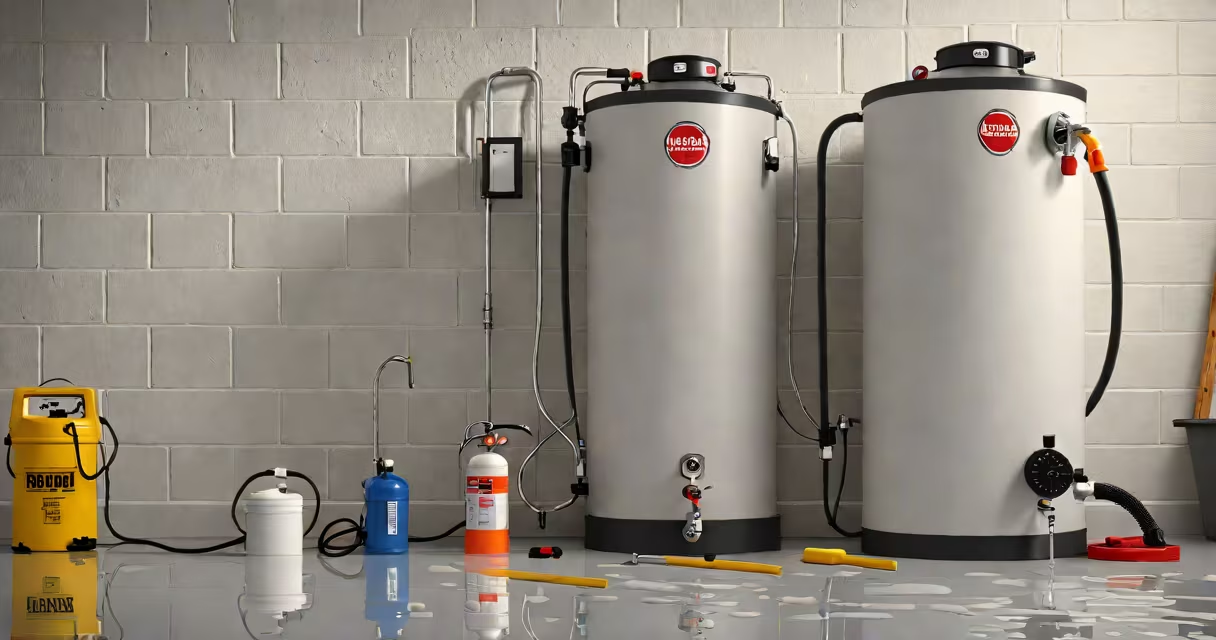
A leaking water heater tank indicates a failure in the internal components or tank integrity, requiring prompt action to prevent water damage. The leak may stem from loose fittings, corroded tank walls, or failed pressure relief valves. Immediate steps include shutting off power and water supply, identifying the leak source, and deciding whether to repair or replace.
Water heaters store and heat water under pressure. When the tank develops a hole or the internal lining fails, hot water escapes through the steel shell. Most leaks originate at connections-such as the drain valve, temperature and pressure relief (T&P) valve, or inlet/outlet fittings-rather than the tank itself. A slow drip near the base suggests a failing drain valve. A steady stream from the T&P valve points to excessive pressure or temperature buildup.
According to the U.S. Department of Energy, 90% of water heater failures occur due to corrosion in the anode rod or poor maintenance. Regular flushing every 6-12 months reduces sediment buildup, which accelerates tank degradation. If the tank shows rust, dents, or pooling water beneath, replacement is necessary. Repairing a cracked tank is not safe or effective.
Electric and gas water heaters operate differently but share common failure points. Electric models use heating elements submerged in water. When the element corrodes or the thermostat malfunctions, overheating occurs. Overheating increases internal pressure, triggering the T&P valve to release water. Gas heaters rely on a burner beneath the tank. If the flame sensor fails or the pilot light goes out, the system may not regulate properly, leading to pressure spikes.
The T&P valve is a safety device designed to release water if pressure exceeds 150 psi or temperature reaches 210°F. This valve is tested annually by lifting the lever to release pressure. If water continues to drip after testing, the valve is faulty and must be replaced. A faulty T&P valve can cause continuous leaks even if the tank is intact.
Internal corrosion begins when the magnesium anode rod depletes. This rod sacrifices itself to protect the steel tank from oxidation. Once the rod is gone, the tank begins to rust. The National Association of Plumbing-Heating-Cooling Contractors (NPHCC) reports that tanks with depleted anodes fail within 5 years of service. Replacing the anode rod extends lifespan, but only if the tank remains structurally sound.
Leak location determines the required fix. Common leak points include:
| Leak Location | Most Likely Cause | Repair Type |
|---|---|---|
| Drain valve | Worn washer or damaged valve body | Replace valve ($15-$25) |
| T&P valve | Overpressure or worn seal | Replace valve (must match pressure rating) |
| Inlet/outlet fittings | Loose connection or degraded gasket | Re-tighten or replace gasket |
| Base of tank | Rust or structural failure | Replace entire unit |
Leaking at the base of the tank is a red flag. Rust spots, visible bulges, or standing water indicate irreversible damage. The U.S. Consumer Product Safety Commission warns against attempting to patch a tank with epoxy or sealant-the risk of explosion from pressurized steam is too high. Only a certified technician should handle tank replacement.
Non-obvious fact: A small leak from the T&P valve during normal operation is normal. The valve releases water periodically to relieve pressure. However, continuous dripping after the test is not normal. If the valve drips while the heater is off, the problem lies in the system's pressure regulation, not the valve itself.
Begin by turning off the power and water supply. For electric units, switch off the circuit breaker. For gas heaters, turn the gas valve to "off." Close the cold water inlet valve. Open a hot water faucet to relieve pressure.
Drain the tank. Attach a hose to the drain valve and run it to a floor drain or bucket. Open the valve and let water flow until empty. Remove the drain valve and inspect the washer. Replace it if cracked or hardened. Install a new valve using Teflon tape on threads. Reconnect the hose and slowly open the inlet valve. Check for leaks.
If the leak is at the T&P valve, shut off the water and power. Remove the old valve and install a new one rated for 150 psi and 210°F. Use a wrench to tighten, but do not overtighten. Reopen the water supply and check for drips. Test the valve by lifting the lever-water should flow freely and stop when released.
I once repaired a leaking drain valve on a 40-gallon electric heater. The washer was brittle and disintegrated upon removal. After installing a new valve and refilling, the leak stopped. The process took 45 minutes and cost $18. The tank remained functional for another 7 years.
Repair is viable only if the leak originates at a fitting or valve. If the tank itself is rusted or dented, replacement is mandatory. The average lifespan of a water heater is 10-12 years. Units older than 10 years are prone to sudden failure. Replacing an aging unit improves efficiency and prevents catastrophic leaks.
Energy efficiency matters. Newer models meet ENERGY STAR standards, reducing energy use by 20-30%. A 50-gallon gas heater with a 0.60 EF (energy factor) uses 25% less gas than a 0.50 EF model. Upgrading saves $100-$150 annually on utility bills.
When the tank leaks at the base, replacing the unit is the only safe option. Choose a model with a longer warranty-some offer 10-year tank warranties. Install a water heater pan with a drain line to catch future leaks. This reduces property damage and allows early detection.
Always verify local codes before installation. Many municipalities require permits for plumbing work. A professional installer ensures compliance and proper venting for gas units.
Understanding how to fix a leaking water heater tank begins with diagnosing the source. Corrective actions depend on location and severity. If uncertainty exists, contact a licensed contractor. Preventive maintenance extends life and avoids emergency repairs.
For detailed guidance on fixing a leaky water tank, visit step-by-step water heater repair instructions.