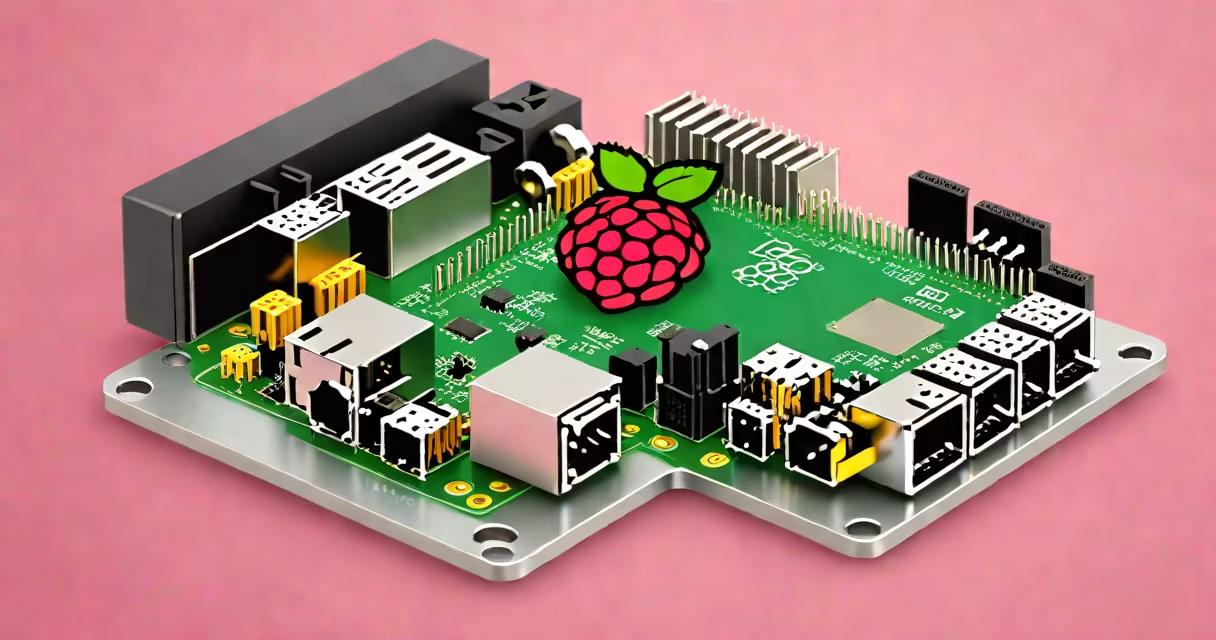
A Raspberry Pi headless server is a Raspberry Pi configured to operate without a monitor, keyboard, or mouse, managed entirely through remote access tools like SSH or web interfaces. It runs continuously as a dedicated service-such as a file server, home automation hub, or media streamer-using only power and network connectivity.
Unlike a desktop setup, a headless server boots and operates silently in the background. You interact with it over a local network or internet connection using secure shell (SSH) or tools like VNC. This makes it ideal for embedded systems, always-on applications, and low-power computing tasks.
The term "headless" refers to the absence of a display interface. The Pi doesn't require a screen or input devices because all configuration and control happens remotely. This design reduces cost, power consumption, and physical footprint-perfect for projects deployed in garages, basements, or even outdoors with proper enclosures.
When powered, the Raspberry Pi loads the operating system from a microSD card. By default, Raspberry Pi OS includes SSH enabled, which allows encrypted remote login. Once booted, the Pi assigns itself an IP address via DHCP on your local network.
To connect, you use a terminal or SSH client on another device-like a laptop or phone-and enter the Pi's IP address and login credentials. From there, you run commands, edit files, install software, and manage services just as if you were sitting in front of it.
For example, if your Pi's IP is 192.168.1.105 and the username is "pi," you'd run:
ssh [email protected]After entering the password, you gain full command-line access. You can then update packages, set up a web server, or configure automated backups-all without touching the Pi physically.
Setting up a Raspberry Pi headless server requires minimal hardware: a Pi model (recommended: Raspberry Pi 4 with 4GB RAM), a microSD card (at least 16GB), a power supply, and a network cable or Wi-Fi connection.
Begin by installing Raspberry Pi OS Lite (the minimal version) onto the microSD card using the official Raspberry Pi Imager tool. Select "Raspberry Pi OS (other) → Raspberry Pi OS Lite (64-bit)" for a clean, lightweight base.
Before inserting the card, create a blank file named ssh (no extension) in the boot partition of the SD card. This enables SSH on first boot. Optionally, place a wpa_supplicant.conf file in the same folder to configure Wi-Fi automatically:
country=US
ctrl_interface=DIR=/var/run/wpa_supplicant GROUP=netdev
update_config=1

network={
    ssid="YourWiFiName"
    psk="YourPassword"
}
Insert the card into the Pi, power it on, and wait 30 seconds. Then, use a network scanner like nmap or Angry IP Scanner to find the Pi's IP address. Once located, connect via SSH.
Headless Raspberry Pi servers serve as reliable platforms for continuous operations. Common deployments include:
For instance, one user installed a Pi 4 running Raspberry Pi OS Lite as a backup server for their home network. They configured rsync to sync photos and videos from multiple devices nightly. The Pi ran unattended for 18 months with no failures, consuming less than 5 watts of power.
Different Pi models support different use cases based on performance and connectivity. Here's a comparison of common options:
| Model | RAM | Network | Best For |
|---|---|---|---|
| Raspberry Pi 4 (4GB) | 4GB | 1 Gbps Ethernet, Wi-Fi 5 | Media streaming, web servers, heavy automation |
| Raspberry Pi 3 B+ | 1GB | 100 Mbps Ethernet, Wi-Fi 4 | Basic file sharing, light automation |
| Raspberry Pi Zero 2 W | 512MB | Wi-Fi 4, USB-C power | IoT sensors, portable monitoring |
Each model supports headless operation. The key difference lies in throughput and reliability under load. A Pi 4 handles simultaneous video streams and database queries better than a Pi Zero.
Many users assume they need a monitor to troubleshoot setup issues. That's not true. If SSH fails, check the network connection, ensure the SD card was written correctly, and verify the ssh file exists on the boot partition.
Another error: assuming the Pi's hostname is accessible via raspberrypi.local without enabling mDNS. On most networks, this name resolves only if Bonjour or Avahi is active. Use the actual IP address instead until DNS resolution is confirmed.
A lesser-known issue is incorrect time zone settings. Without manual correction, the Pi may log events with incorrect timestamps. Run sudo timedatectl set-timezone America/New_York after logging in to fix this.
I once set up a headless Pi as a weather station logger in my garage. It collected data from a DHT22 sensor every 10 minutes and stored readings in a SQLite database. After 14 days, I accessed the logs remotely and found one failed read due to a loose wire-fixed in under five minutes via SSH. No physical inspection was needed.
A Raspberry Pi headless server is not the same as a cloud server or a traditional desktop PC. It lacks a graphical environment by default and doesn't support GPU-intensive tasks like video editing or gaming. It's not designed for high availability out of the box-relying on stable power and network conditions.
Also, it's not a drop-in replacement for a NAS device. While you can build a basic file server, enterprise-grade features like RAID, remote replication, or Active Directory integration require additional software and configuration.
Finally, avoid confusing "headless" with "unattended." A headless system can still be monitored locally. The term specifically describes the lack of display hardware, not the level of supervision.
With proper setup, a Raspberry Pi headless server delivers consistent, low-cost computing. It powers countless personal and small-scale deployments worldwide. Its simplicity, energy efficiency, and accessibility make it a go-to solution for developers, hobbyists, and IT administrators alike.