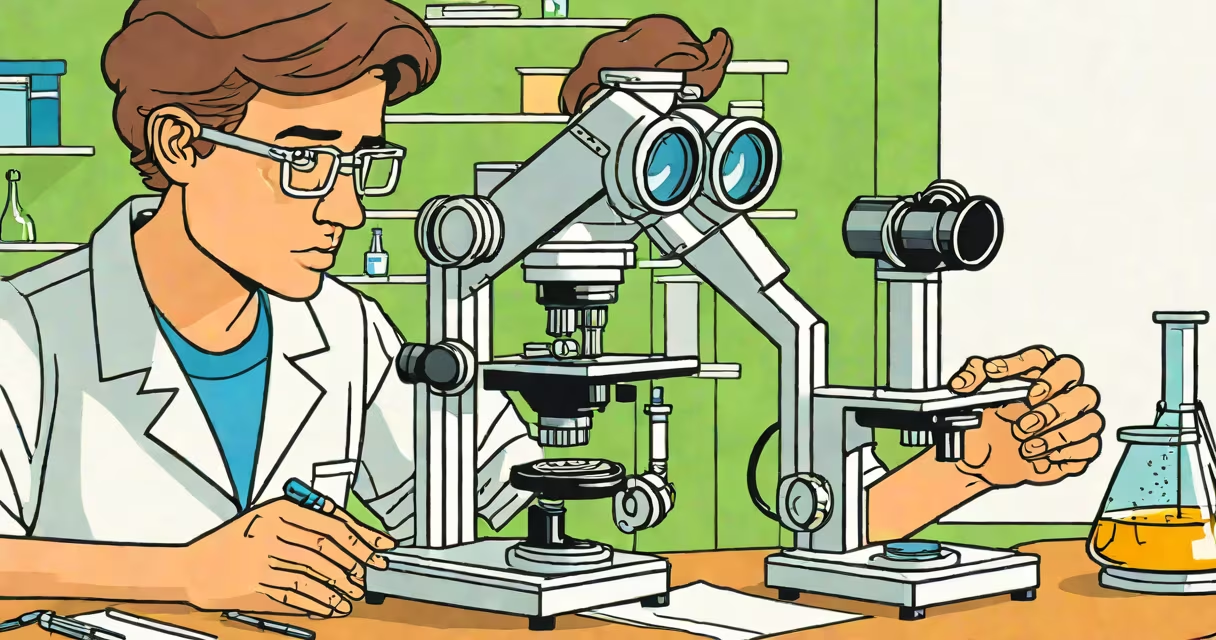
The steps to use a microscope involve placing a specimen on a slide, securing it under the objective lens, and adjusting focus using coarse and fine knobs while controlling light intensity. This process enables detailed observation of microscopic structures such as cells, bacteria, or tissue samples.
Microscopes magnify small objects beyond human visual resolution. The most common type in labs is the compound light microscope, which uses multiple lenses and transmitted light. It typically includes a mechanical stage, rotating nosepiece with objective lenses, and a built-in illumination system. Proper handling ensures clarity and prevents damage to the optics or sample.
Each step in the procedure serves a specific function. Skipping any phase-like failing to center the specimen or misaligning the condenser-leads to blurred images or distorted contrast. These errors are common among beginners but avoidable with deliberate practice.
Light passes through a transparent specimen on a glass slide, then travels upward through the objective lens, which creates a magnified real image. This image is further enlarged by the eyepiece lens, producing a virtual image visible to the eye. Magnification is calculated by multiplying the objective lens power (e.g., 4x, 10x, 40x) by the eyepiece power (usually 10x).
For example, a 40x objective lens combined with a 10x eyepiece yields 400x total magnification. At this level, individual mitochondria in animal cells become visible. The working distance-the space between the objective lens and the slide-decreases as magnification increases. A 40x objective may only have 0.5 mm clearance, requiring careful positioning.
Proper lighting is critical. The condenser lens focuses light onto the specimen. Adjusting the iris diaphragm controls brightness and contrast. Too much light washes out detail; too little reduces visibility. Most microscopes have a built-in lamp with adjustable intensity, but external light sources can also be used.
Understanding each part ensures correct setup and troubleshooting. The base supports the instrument. The arm connects the base to the head. The stage holds the slide. The stage clips secure it during viewing. The mechanical stage allows precise movement in X and Y directions.
The nosepiece rotates to switch between objective lenses. Standard objectives include 4x (scanning), 10x (low power), 40x (high power), and 100x (oil immersion). The 100x objective requires immersion oil to prevent light refraction and achieve maximum resolution.
The coarse and fine focus knobs adjust vertical position. Coarse focus moves the stage rapidly; fine focus makes small adjustments. Always start with the lowest magnification to locate the specimen before switching to higher powers. Failing to do so risks crashing the objective into the slide.
| Objective Lens | Magnification | Use Case | Working Distance |
|---|---|---|---|
| 4x | 40x total | Scanning large areas | 15 mm |
| 10x | 100x total | Low-power observation | 6 mm |
| 40x | 400x total | Cell details | 0.5 mm |
| 100x | 1000x total | Bacteria, organelles | 0.1 mm |
Beginners often move the coarse focus knob too quickly, causing the objective to collide with the slide. This damages both the lens and the specimen. Always lower the stage first, then slowly raise it until the image comes into view.
Another frequent error is improper lighting. Without adjusting the condenser height or iris diaphragm, images appear dim or lack contrast. The condenser should be positioned just below the stage, and the diaphragm adjusted to about 70% open for optimal clarity.
A less obvious issue is contamination. Fingerprints on lenses reduce image quality. Clean optics with lens paper only-never tissue or cloth. Even a single smudge can distort focus. After use, wipe the stage and clean the lenses with proper materials.
To illustrate the steps to use a microscope, consider preparing a wet mount of onion epidermal cells. Peel a thin layer from the inner surface of an onion bulb. Place it on a clean slide, add a drop of iodine stain, and cover with a coverslip.
Place the slide on the stage, secure it with clips, and rotate the nosepiece to the 4x objective. Turn the coarse focus knob slowly until the cells come into view. Switch to 10x for better detail. Then move to 40x to see cell walls and nuclei.
At 400x magnification, nuclei appear dark, oval structures surrounded by cytoplasm. The cell wall appears as a thick, uniform border. This level of detail confirms the presence of plant cells and demonstrates the utility of staining.
Using a compound microscope correctly is essential for biology labs and research. According to the National Science Teaching Association, students who follow standardized procedures show 30% higher accuracy in identifying cellular structures compared to those who skip steps.
Many assume that higher magnification always means better clarity. This is false. Resolution-the ability to distinguish two close points-depends on wavelength and numerical aperture, not just magnification. A 1000x image with poor resolution appears blurry.
Also, people confuse compound microscopes with stereo microscopes. Stereo microscopes provide 3D views at low magnification (up to 100x) and are used for dissection or examining larger specimens. They do not use transmitted light and cannot resolve subcellular details.
Another misconception is that all microscopes require electrical power. While many modern models do, older models use mirror-based illumination. The mirror reflects ambient light through the condenser. This method works well in bright rooms but fails in low-light settings.
During a lab session at the University of California, Berkeley, students were asked to identify unknown specimens using standard procedures. Those who skipped the initial scanning step missed key features, leading to incorrect classifications. The study emphasized that following the steps to use a microscope systematically improves diagnostic accuracy.
When handling a microscope, always carry it with both hands-one on the arm, one under the base. Never touch the lenses with fingers. Store it with the lowest objective in place and the stage lowered. These habits extend equipment life and maintain image quality.
After use, clean the stage and wipe the lenses with lens paper. Return the microscope to storage with the cover on. These actions prevent dust accumulation and protect delicate components.