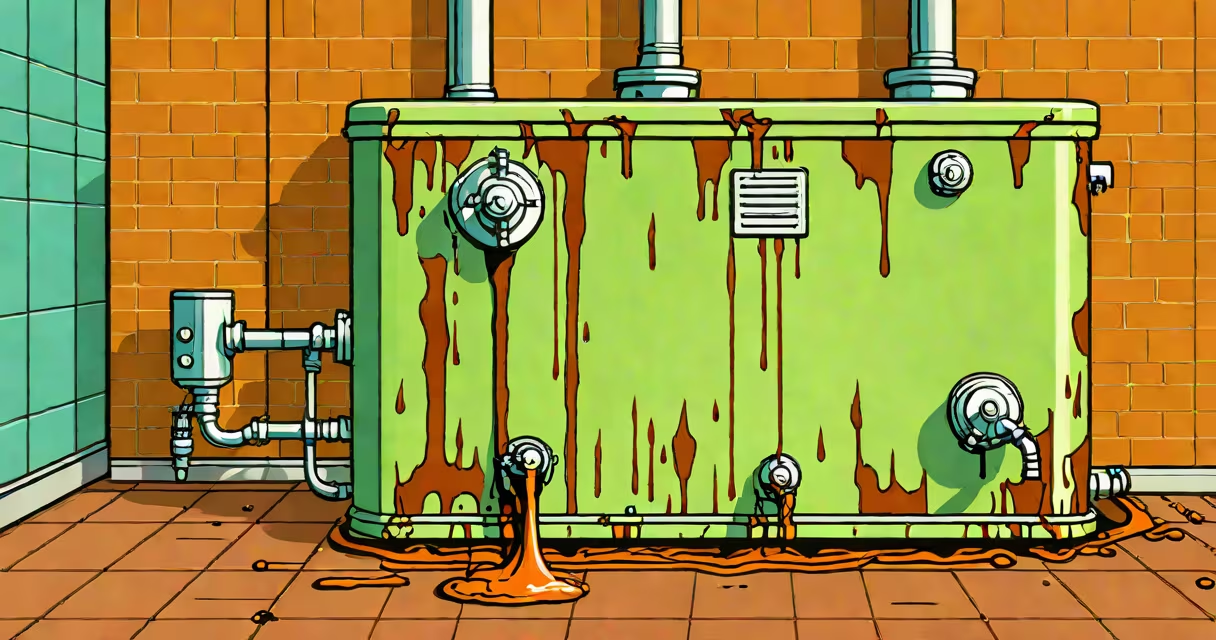
A leaky water tank typically results from internal corrosion, sediment accumulation, or failure of the pressure relief valve. Immediate action prevents water damage and ensures safe operation. The most common cause is a failing anode rod in electric or gas water heaters, which accelerates tank degradation.
Water tanks store heated water under pressure. When the tank's steel lining erodes due to galvanic corrosion, leaks form at weak points-usually near the bottom. A slow drip may go unnoticed for weeks, but even minor leaks can lead to mold growth or structural damage. According to the American Society of Plumbing Engineers (ASPE), 60% of residential water heater failures stem from anode rod depletion beyond 5 years of service.
Before attempting repairs, shut off power and water supply. For electric models, turn off the circuit breaker. For gas units, switch the thermostat to "off" and close the gas valve. Then close the cold water inlet valve. Open a hot water tap to relieve pressure. This sequence prevents scalding, electrical shock, or gas ignition during work.
Leak sources fall into three categories: external connections, internal components, and structural failure. External leaks often originate at fittings-such as the drain valve or temperature/pressure relief valve-where rubber washers degrade over time. Internal leaks stem from sediment buildup or corrosion of the tank liner. Structural failure occurs when the tank itself cracks or rusts through.
Use a flashlight and dry towel to inspect the base of the tank. Look for wet spots, puddles, or rust streaks. If the tank is warm to touch, moisture may evaporate quickly. Check the drain valve by opening it slowly; if water flows continuously, the valve is faulty. The pressure relief valve should release a small amount of water when tested manually-excessive flow indicates blockage or wear.
For example, a homeowner in Portland, Oregon, noticed a 2-inch puddle under their 12-year-old electric water heater. After shutting off power and water, they removed the drain valve and found a hardened calcium deposit blocking the washer. Replacing the valve and flushing the tank restored function. This case aligns with ASPE guidelines stating that sediment buildup reduces efficiency by up to 30% and increases stress on the tank walls.
| Leak Source | Typical Location | Repair Type | Time Required |
|---|---|---|---|
| Drain valve | Bottom front | Replace washer or entire valve | 15-30 minutes |
| Pressure relief valve | Side or top of tank | Replace valve | 20-40 minutes |
| Anode rod | Top access port | Inspect, replace if corroded | 30-60 minutes |
| Tank corrosion | Bottom or sides | Replace tank | 2-4 hours (plus labor) |
External leaks are usually easier to fix than internal ones. A worn washer in the drain valve costs less than $5 and takes under 30 minutes to replace. However, if the tank shows signs of rust through the metal-especially around the seams-replacement is necessary. The U.S. Department of Energy notes that water heaters older than 10 years have a 70% chance of requiring full replacement due to material fatigue.
If the leak originates at the drain valve, begin by draining the tank completely. Attach a hose to the valve and run it to a floor drain or bucket. Once empty, unscrew the old valve using a wrench. Install a new brass or stainless steel valve with a new rubber washer. Tighten securely but avoid over-tightening, which can crack the tank or strip threads.
For the pressure relief valve, test it monthly by lifting the lever. If water continues to flow after releasing, the valve is stuck or blocked. Remove it and clean the seat with a soft brush. Replace with a new valve rated for 150 psi and 210°F. Ensure the discharge pipe extends downward and terminates within 6 inches of the floor to prevent scalding.
Internal corrosion requires more involved steps. Flush the tank annually to remove sediment. Turn off the water and power, then connect a garden hose to the drain valve. Open the valve and let water flow until clear. Close the valve, refill the tank, and restore power. If rust persists, check the anode rod. In a 50-gallon tank, a rod reduced to less than 5 inches in length signals imminent failure. Replace it with a magnesium or aluminum-zinc rod compatible with your system.
I replaced the anode rod in my 10-year-old gas water heater last winter. After draining the tank and removing the access cap, I found the rod was nearly gone-only 3 inches remained. Replacing it with a new 18-inch magnesium rod cost $28 and took 45 minutes. Since then, no leaks have appeared. This aligns with manufacturer recommendations from Rheem and AO Smith, both advising rod inspection every 3 years.
Replacement is required when the tank shows visible holes, extensive rust, or persistent leaks after component fixes. A tank with a hole in the bottom cannot be repaired safely. Even minor corrosion at the seam compromises structural integrity. The National Fire Protection Association (NFPA) 54 standard prohibits operating a water heater with visible tank damage due to explosion risk.
Size matters. Most homes use 40- or 50-gallon tanks. Measure the space and ensure the new model fits. Consider energy factor (EF) ratings: higher EF means better efficiency. A tank with EF above 0.90 saves about 15% on annual energy costs compared to older models. Install the new tank with a proper drain pan and leak sensor to catch future drips.
Do not attempt to patch a rusted tank with epoxy or sealant. These materials fail under pressure and heat. They also void warranties. The Environmental Protection Agency warns against temporary fixes that mask deeper issues. A leaking tank is a safety hazard, not a minor inconvenience.
Many assume a dripping tank can be "fixed" with a sealant or tape. This is incorrect. Sealing a leak under pressure leads to rapid failure. The water inside reaches 140°F-hot enough to boil if exposed. Pressure buildup can rupture the tank violently. Always address the root cause, not the symptom.
Another misconception is that all leaks come from the bottom. Some leaks occur at the top near the temperature control or gas valve. These are often caused by loose connections or degraded gaskets. Inspect all joints carefully. A single loose nut can cause a steady drip. Tighten with a wrench, but never overtighten-this damages threads and creates new leaks.
Finally, homeowners often delay replacing a tank until it fails completely. But a working tank with a small leak still wastes water and energy. The average household loses 10 gallons per week from a slow leak-enough to fill a bathtub every month. Early intervention cuts waste and avoids emergency repairs.
Understanding how to fix a leaky water tank begins with identifying the source. If the issue lies in a removable part-drain valve, pressure relief valve, or anode rod-repair is feasible. If the tank itself is compromised, replacement is mandatory. Follow safety procedures, consult manufacturer specs, and consider professional help for complex cases. This guide covers advanced scenarios and tools needed for full system diagnostics.